
What is DDWRT?
DD-WRT is a Linux-based firmware for embedded wireless routers and access points, originally designed for the Linksys WRT54G series but now compatible with a wide range of models. Developed by Sebastian Gottschall, also known as “BrainSlayer,” DD-WRT turns a basic off the shelf router into a enterprise beast to be reckoned with. Features include, advanced quality of service, wireless bridging, Radius Authentication, VLANs, SIP, support for VPNs. (if routers powerful enough you could even run snort from the router hardware.) This open-source firmware provides a robust alternative to standard manufacturer firmware, aiming to increase the functionality and performance of supported devices. The project, which began as a response to commercial firmware that limited user control, continues to evolve, offering features not found in original or even other third-party firmware solutions
Other embedded System alternative (only supports broadcom chipsets): Fresh Tomato
Installation/Flash
Step 1: Download the Correct Firmware
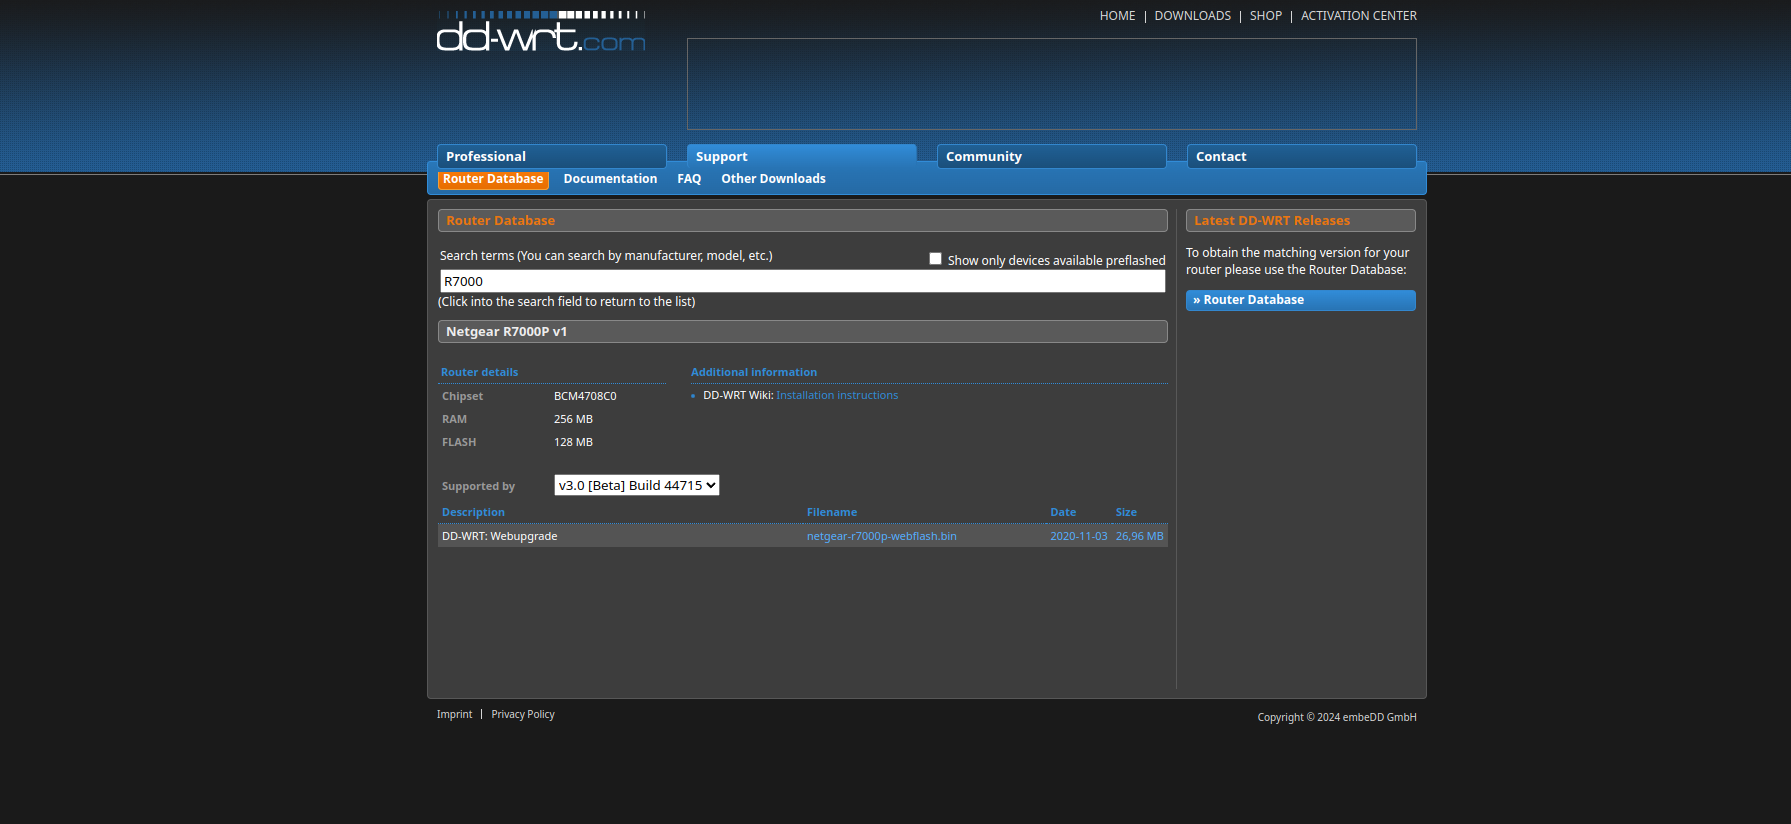
Navigate to the router database. Visit the DD-WRT Router Database and search the database to find the firmware specific to your router model. If it does not show up your device is not supported. However, it’s important to note:
Never download router firmware files directly from the router database. Always check the forums for the latest advice and links to firmware as these are often more up to date and reliable.
There are multiple files, Init flash and update flash. The initial flash installs ddwrt onto your router, the next ‘flash’ is updating ddwrt
Step 2: Fish the site for the forum post for your installation
You will find this forum to be a bit messy. But don’t be scared its relatively simple. In the database you will see a link “DD-WRT Wiki: Installation Instructions”
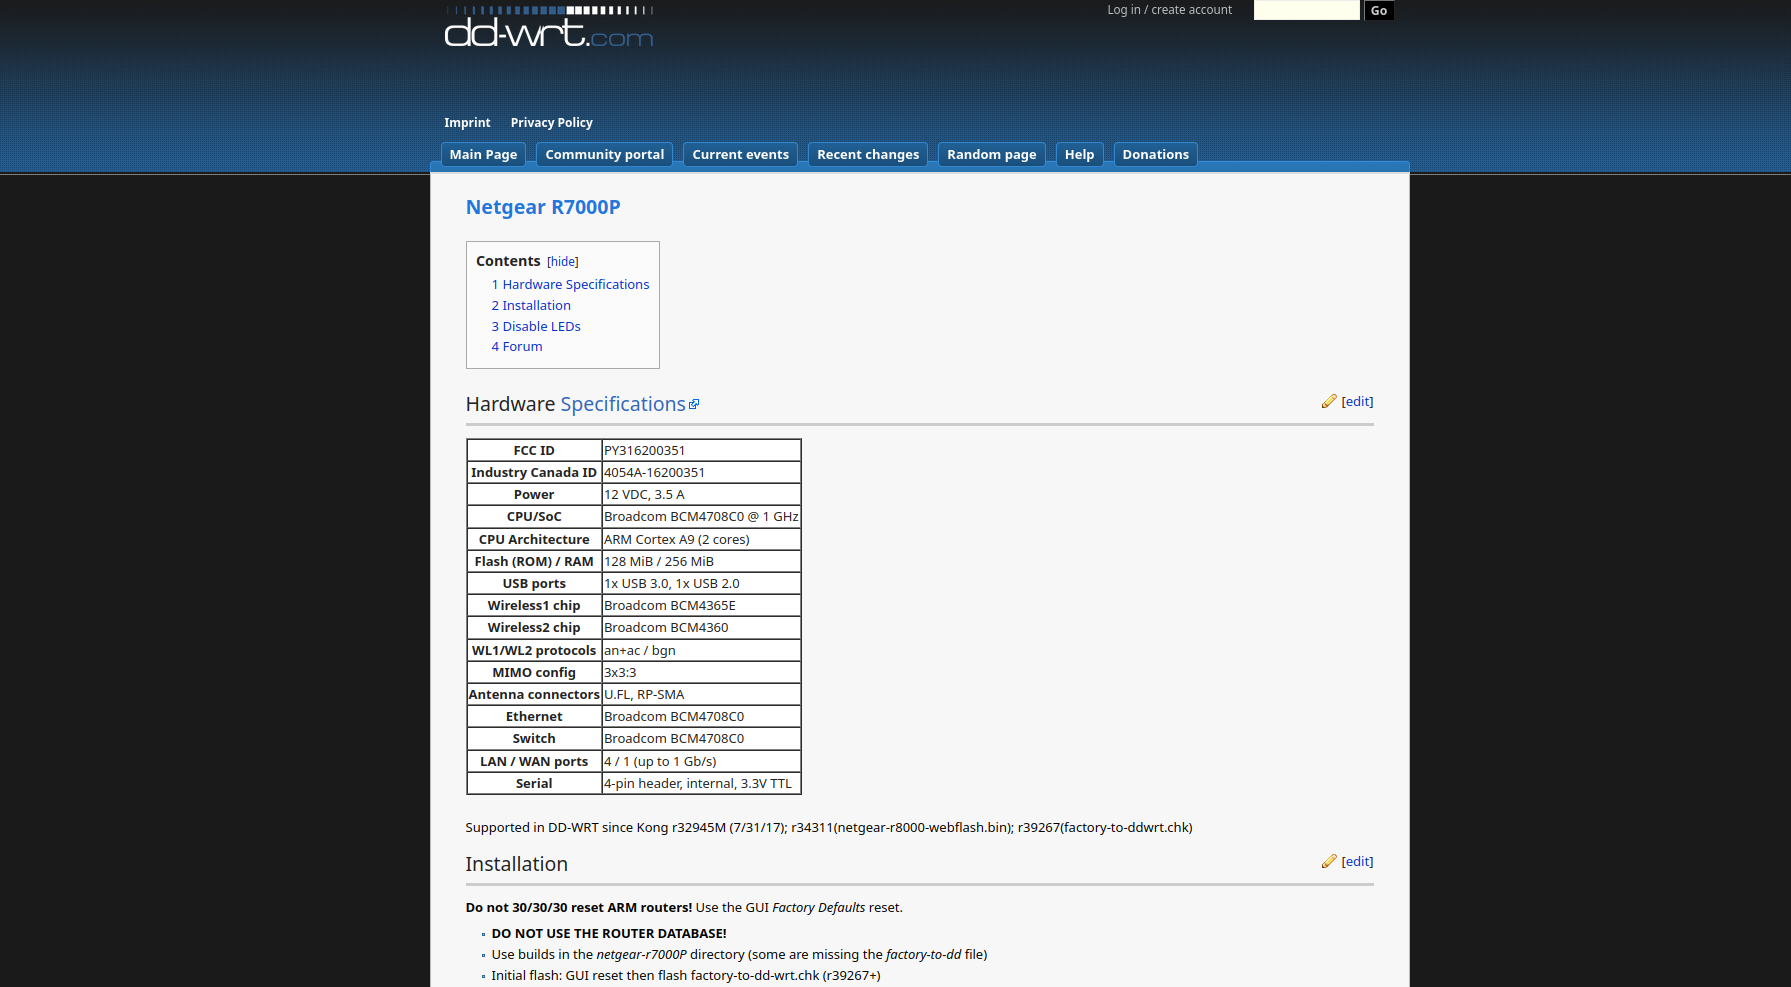
Eventually we will find the proper install link And land on this page:

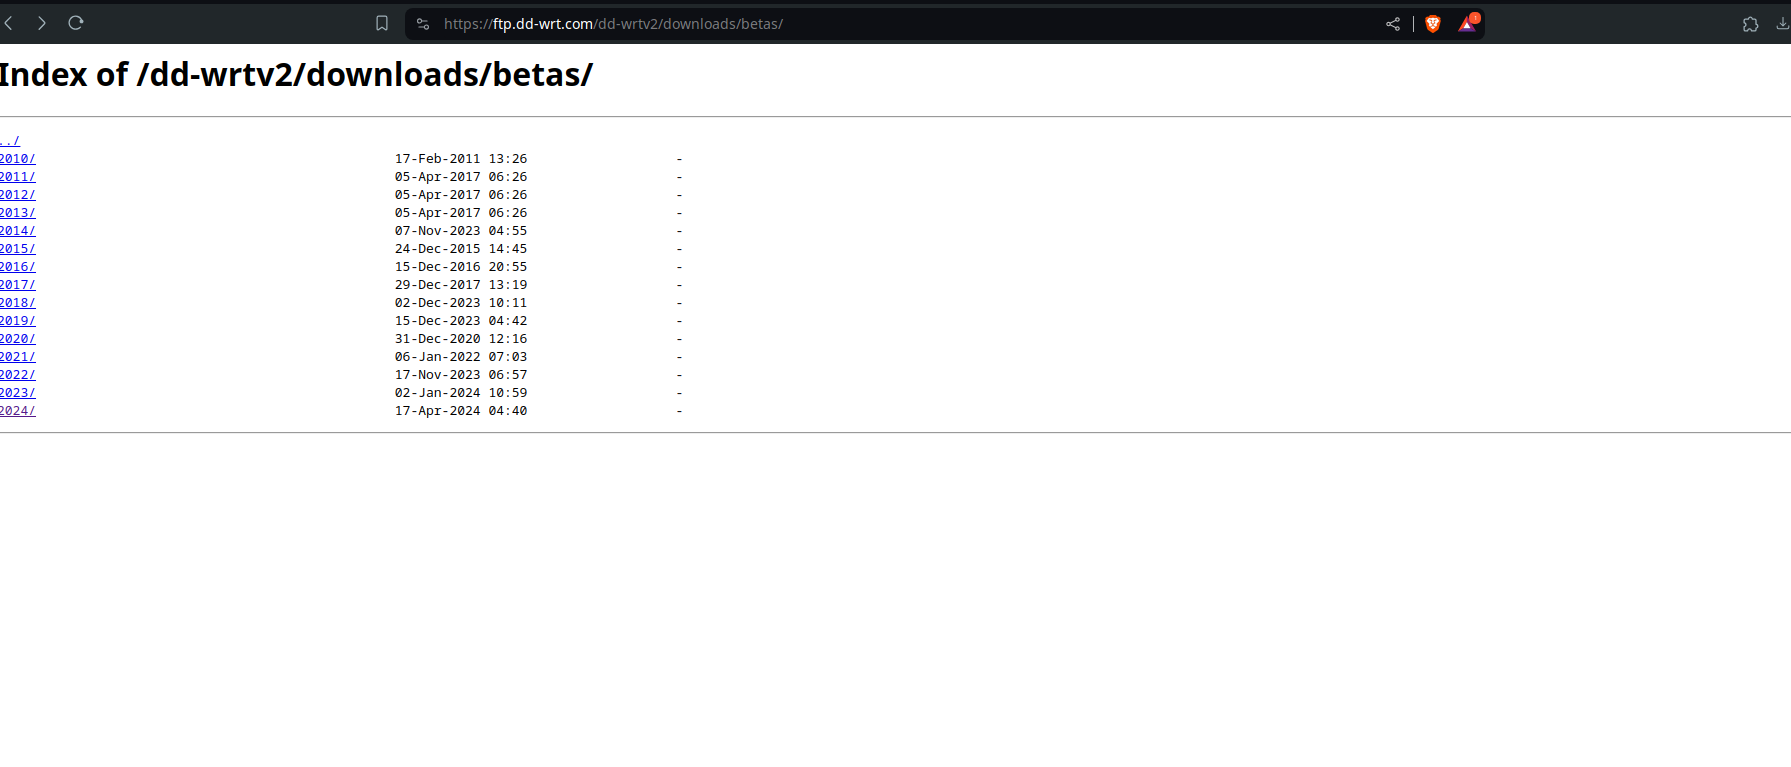
Click the latest build it, it will be the build-date and firmware version:
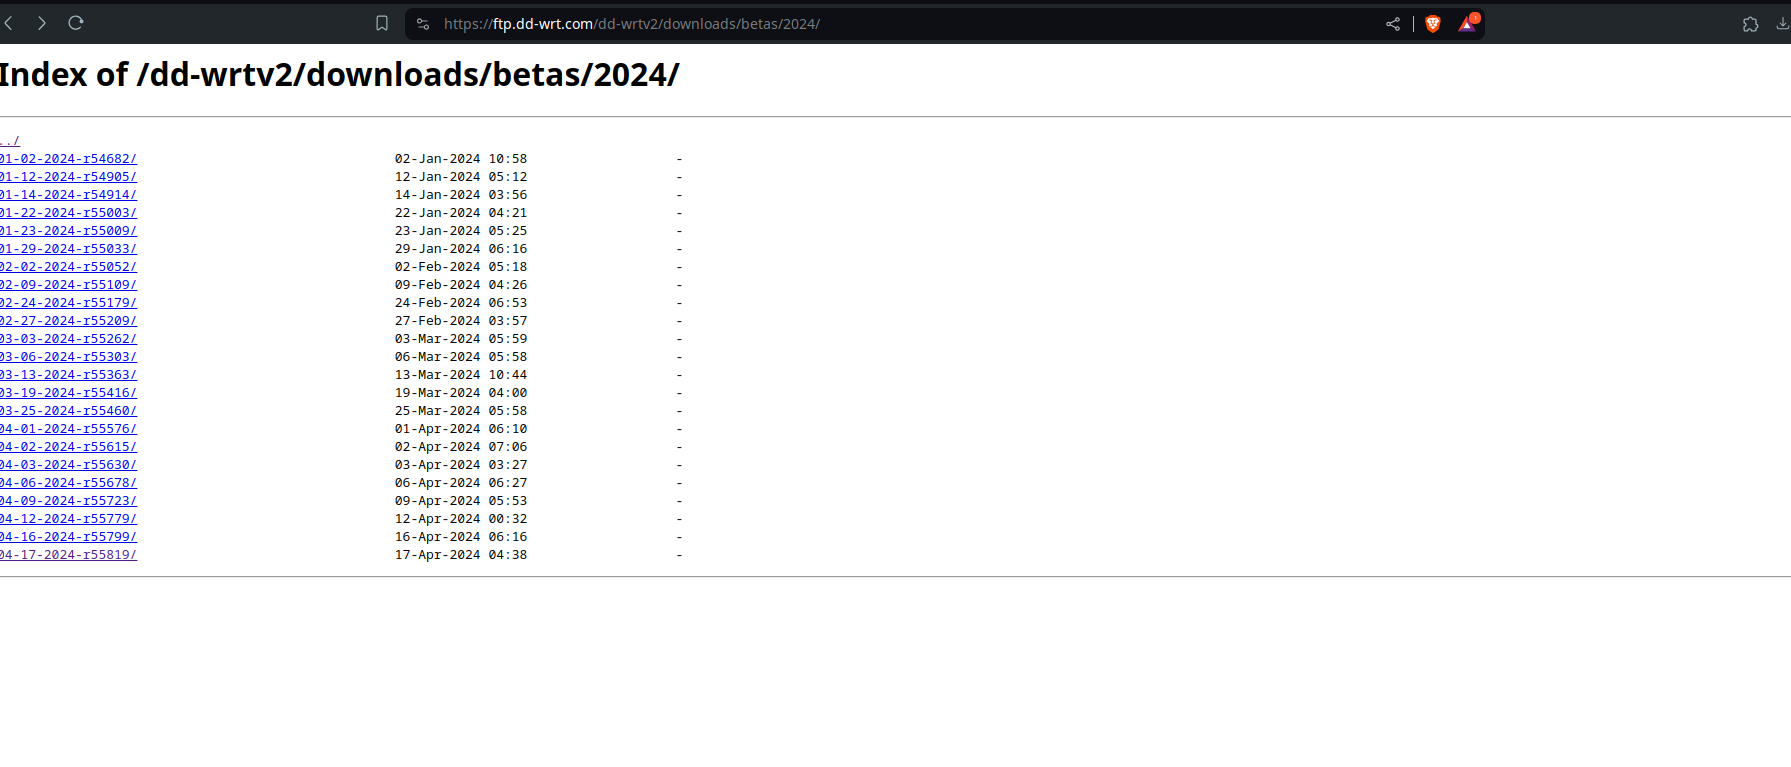
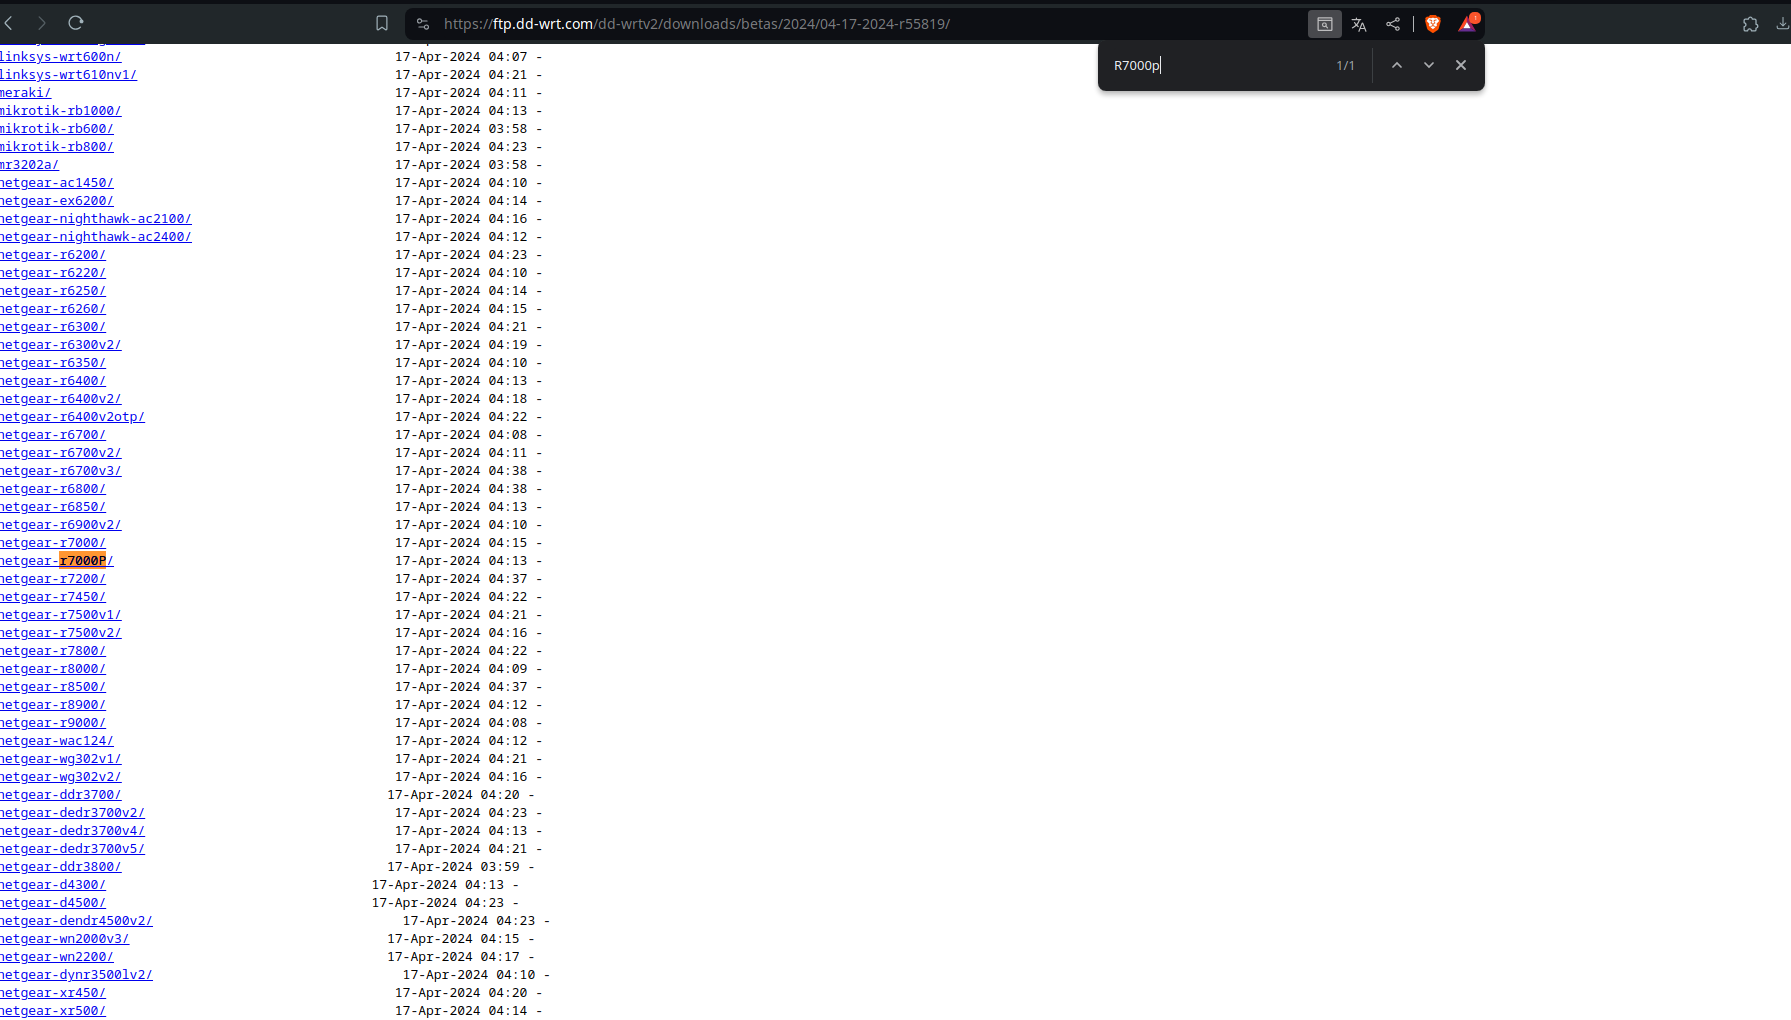
Find your router:
Download both files. The factory-to-ddwrt will be the file you use for NetGear Genie (or whatever your routers gui’s name is)
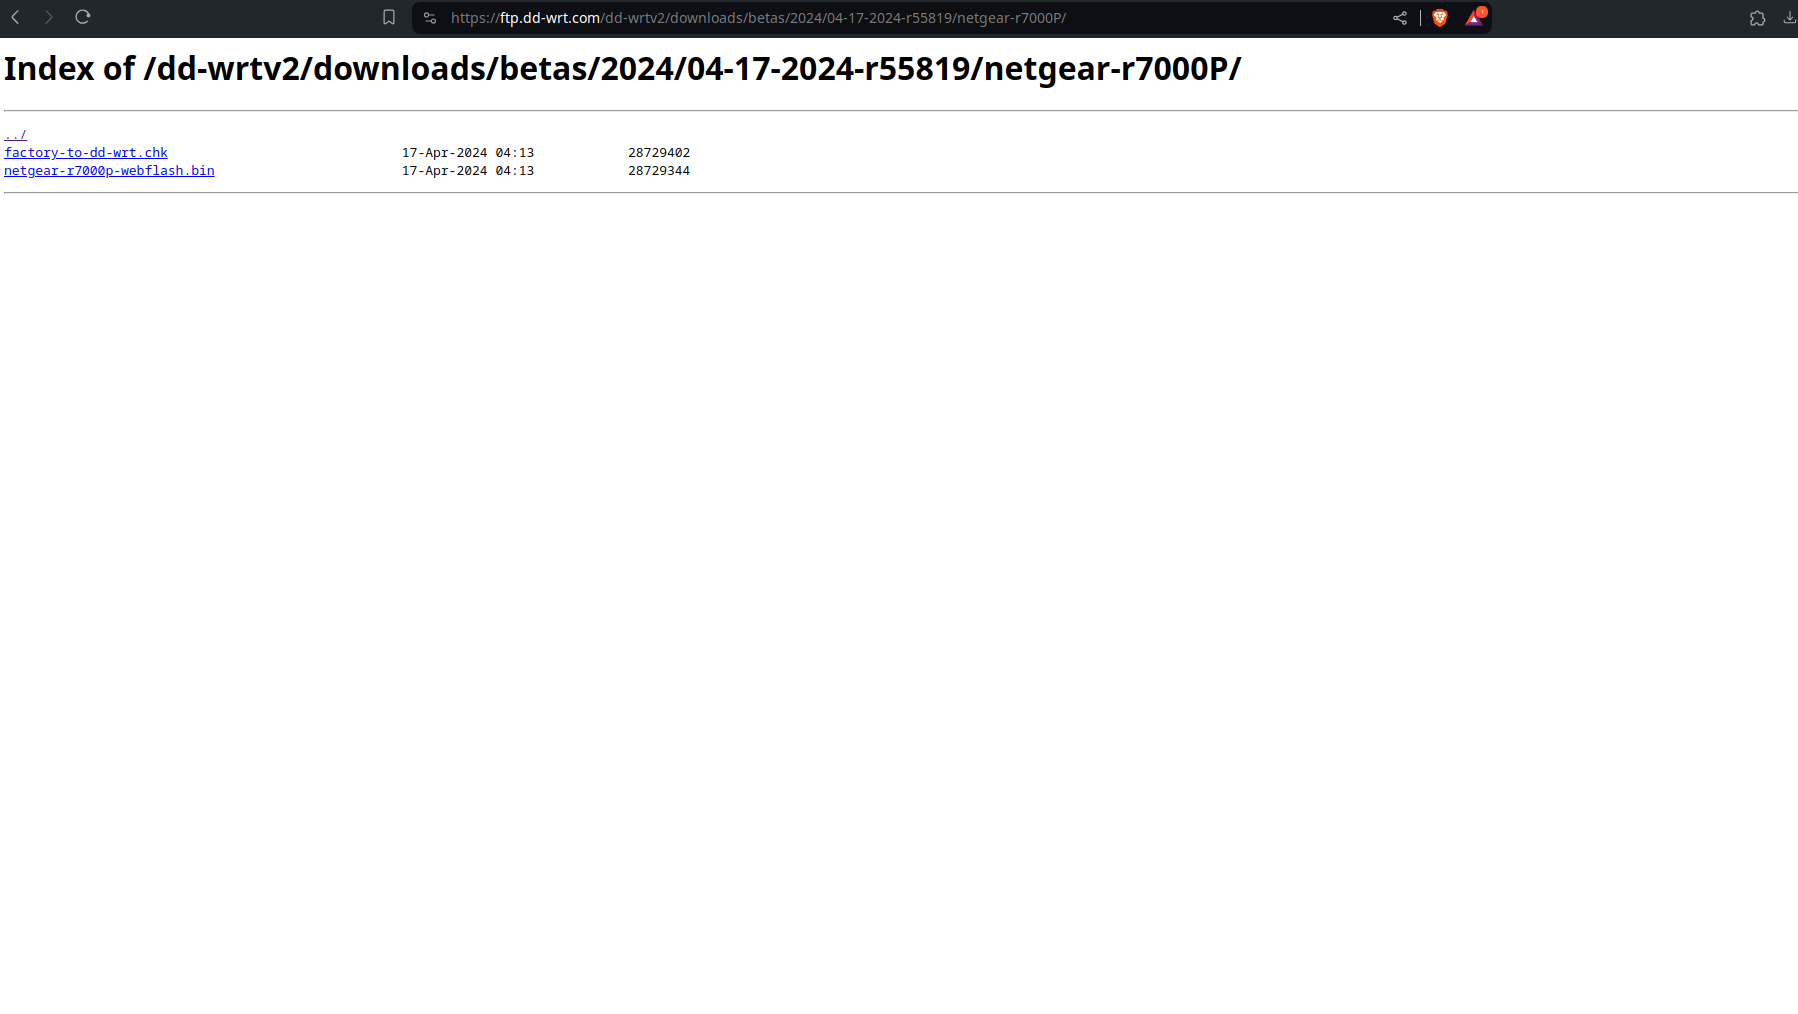
Step 3: Prepare for Installation
- Backup your current settings: Before proceeding, save your current router settings just in case you need to revert.
- Reset your router to factory defaults: This can prevent issues during the flashing process. (Proceed to your routers documentation for that)
Step 4: Flash Firmware via Web GUI
- Connect your computer to the router using an Ethernet cable.
- Access your router’s default admin page (usually 192.168.1.1).
- Navigate to the “Administration” tab and select “Firmware Upgrade”.
- Click “Browse” and select the DD-WRT firmware file you downloaded.
- Click “Upgrade” and wait for the process to complete. Do not interrupt this process as it might brick your router.
My Routers Gui looks like this:
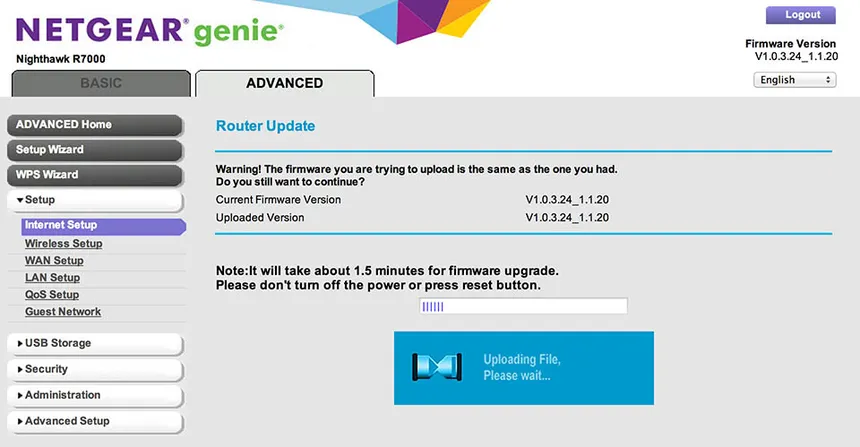
For more information about bricking visit DD-WRT wiki
Step 5: After Installation
- Wait at least 5 minutes after the upgrade tool says it is complete to ensure the changes are fully applied.
- Reboot your router manually by unplugging it from power and plugging it back in.
- Access the DD-WRT control panel by entering 192.168.1.1 in your browser.
Step 6: Final Setup
- Reconfigure your router settings according to your needs. You might want to set up security settings, Wi-Fi passwords, and network names (SSIDs) again.
- Explore DD-WRT’s features such as setting up a VPN, adjusting QoS settings, or setting up a guest network.
Troubleshooting
If you encounter issues:
- Check if your router is truly bricked by trying to access the recovery mode.
- Refer to the DD-WRT wiki for troubleshooting tips or post a question in the DD-WRT forums.
By following these steps, you should be able to successfully install DD-WRT on your router and enjoy the enhanced features it offers. Remember, always proceed with caution and follow the instructions specific to your router model.